Video Depth Anything in Python: consistent depth for video
Depth Anything V2 run frame by frame flickers on video. Video Depth Anything fixes that with temporally consistent depth for long clips. Here is how to run it in Python, with the command line and a reusable script.

Depth Anything V2 turned monocular depth estimation into a one-line call: hand it a photo, get back a depth map. Run it on a video frame by frame, though, and you hit a wall. Each frame is estimated on its own, so the depth values wobble slightly from one frame to the next, and the result shimmers and flickers. For a still image nobody notices. For video it is the first thing you see.
Video Depth Anything is the fix. It takes the same Depth Anything V2 backbone and makes it temporally consistent, so a wall stays the same depth as the camera pans across it, and it does this on long videos, minutes at a time, without the depth slowly drifting. In this guide we run it in Python on your own clips, both from the command line and with a small reusable script.
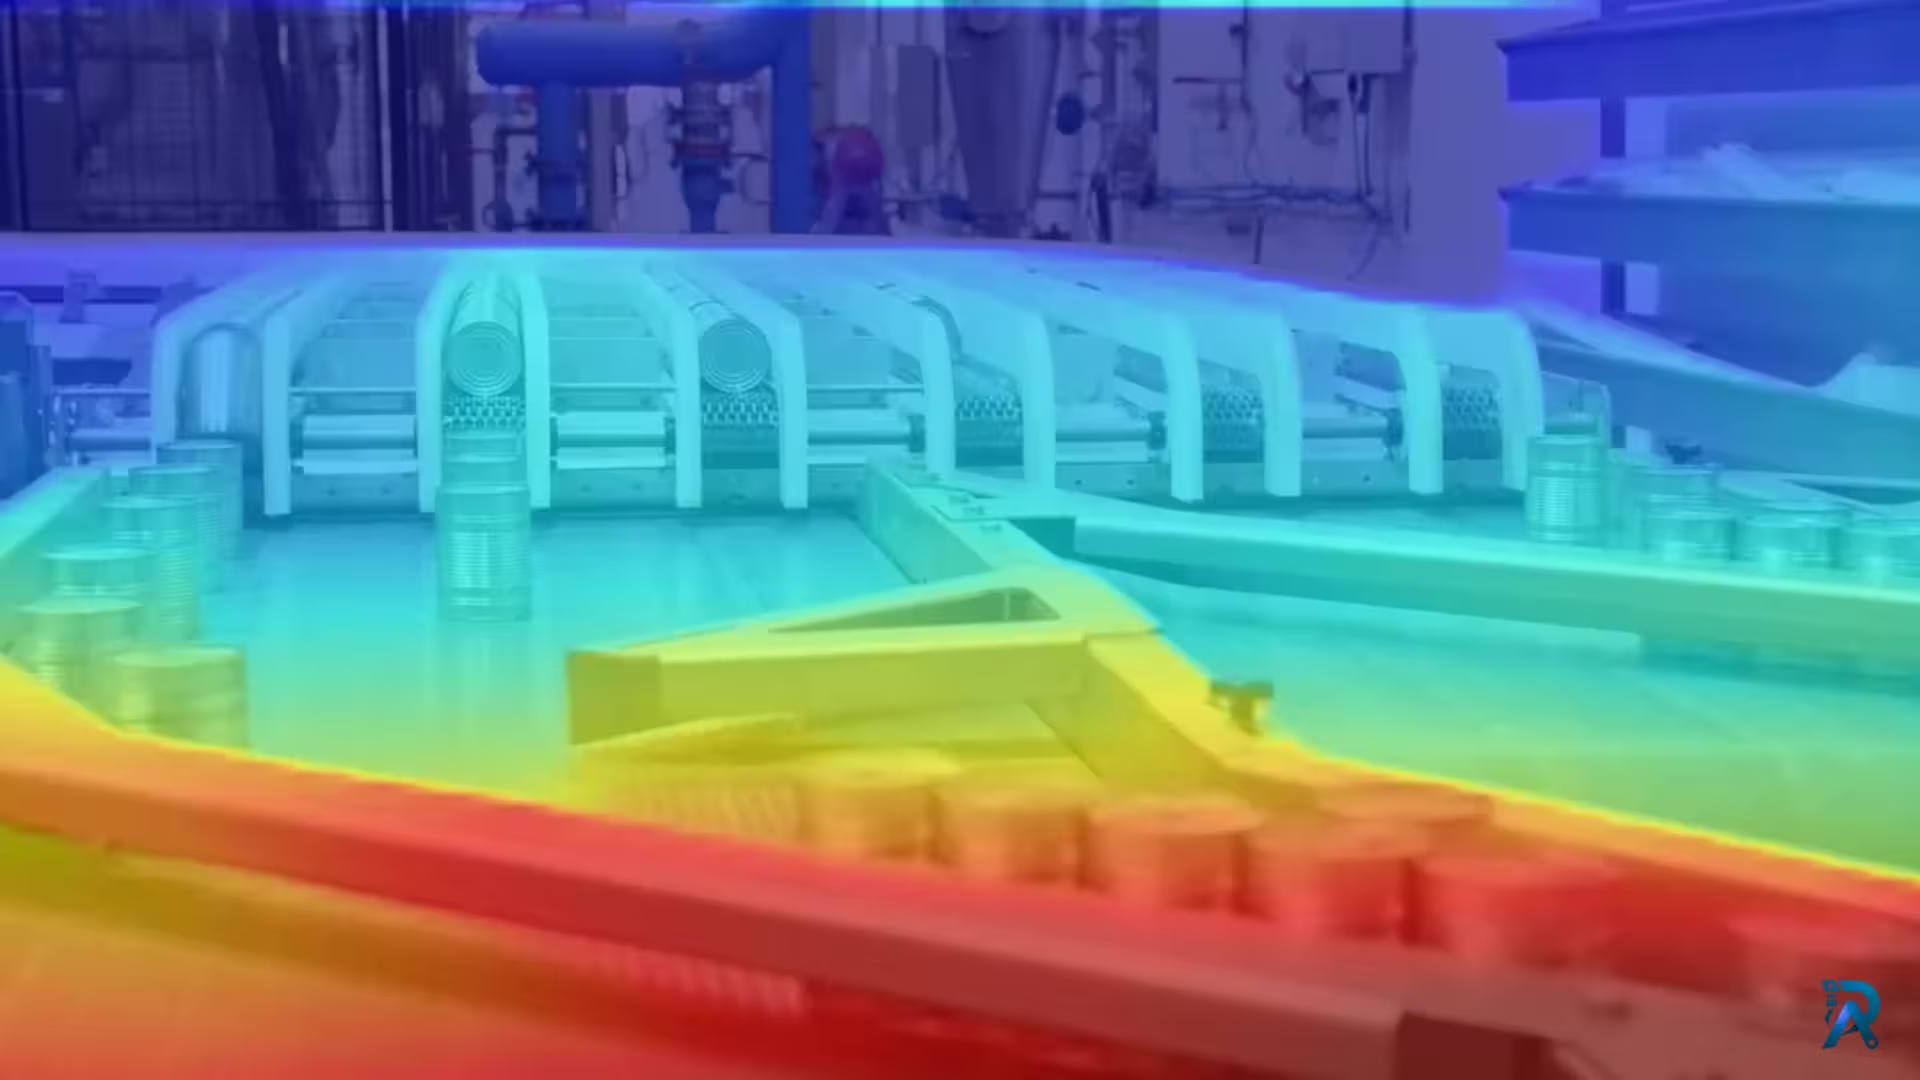
What is Video Depth Anything
Video Depth Anything is a monocular depth estimation model built for video. "Monocular" still means one camera, no stereo pair and no depth sensor. The new word is "consistent": instead of guessing each frame independently, it reasons across frames so the depth is stable over time.
Two ideas make it work:
- A spatiotemporal head. On top of the Depth Anything V2 encoder, a lightweight temporal module lets the model share information between nearby frames, so the depth of a surface does not jump around when nothing about that surface changed.
- A temporal consistency loss. During training the model is penalized when the depth of the same point drifts between frames, which teaches it to keep depth stable without smearing away real motion.
The result keeps the sharp edges and thin structures Depth Anything V2 is known for, but the video no longer flickers. Just as important, it is designed for super-long videos: many video depth methods drift or run out of memory after a few hundred frames, and this one is built to hold up over thousands.
It comes in two sizes, Small (ViT-S) and Large (ViT-L), so you can trade speed for quality. Like Depth Anything V2, the default output is relative depth, consistent across the whole clip but not in meters, and there are separate metric-depth checkpoints when you need real distances.
When to reach for it (and when not to)
Use Depth Anything V2 per frame when your input is a single image, or a handful of unrelated stills. It is simpler and there is nothing to be consistent with.
Reach for Video Depth Anything when the input is a video and the depth feeds something that shows the flicker: a background blur that would breathe, a 3D or parallax effect that would jitter, a measurement that averages over time, or any depth map a viewer actually watches. If you tried running Depth Anything V2 on a clip and the depth looked like it was boiling, this is the model you wanted.
What you need
Video Depth Anything ships as its own GitHub repo. Clone it, install the requirements, and download one checkpoint.
# 1. Clone the official repo
git clone https://github.com/DepthAnything/Video-Depth-Anything
cd Video-Depth-Anything

# 2. Install dependencies
pip install -r requirements.txt
Then download a checkpoint into a checkpoints folder. Each encoder has its own file, and the class below builds the filename from the encoder name, so the two have to match:
- Small:
video_depth_anything_vits.pth(from the Video-Depth-Anything-Small repo on Hugging Face) - Large:
video_depth_anything_vitl.pth(from the Video-Depth-Anything-Large repo)
The pre-trained models section of the repo lists the exact links, including the metric-depth versions covered later.
Run Video Depth Anything from the command line (run.py)
If you just want a depth video out and do not need custom code, the repo ships a run.py. Point it at a clip and pick an encoder:
python run.py \
  --input_video your_clip.mp4 \
  --output_dir outputs \
  --encoder vitl
That writes a colored depth video to outputs. The flags worth knowing:
--encoderpicks the size,vitsorvitl, and must match the checkpoint you downloaded.--input_size(default 518) trades speed for detail; larger is sharper and slower.--max_rescaps the working resolution so a 4K clip does not blow up memory.--max_lenlimits how many frames to process, handy for a quick test on a long video.--grayscalesaves plain grayscale depth instead of the color map.--save_npzalso writes the raw depth arrays, which is what you want if you plan to compute with the depth rather than just look at it.
That is the fastest way to confirm everything is wired up. The rest of this guide uses the Python API so you can fold video depth into your own pipeline.
The Python script
The repo exposes a VideoDepthAnything model plus a couple of small helpers for reading and writing video. Here is a compact wrapper around them:
import torch
import numpy as np

from video_depth_anything.video_depth import VideoDepthAnything
from utils.dc_utils import read_video_frames, save_video


class VideoDepthPredictor:
    # Architecture settings per encoder. The config MUST match the checkpoint.
    MODEL_CONFIGS = {
        "vits": {"encoder": "vits", "features": 64,
                 "out_channels": [48, 96, 192, 384]},
        "vitl": {"encoder": "vitl", "features": 256,
                 "out_channels": [256, 512, 1024, 1024]},
    }

    def __init__(self, encoder="vitl", device=None):
        self.device = device or (
            "cuda" if torch.cuda.is_available()
            else "mps" if torch.backends.mps.is_available()
            else "cpu"
        )
        if encoder not in self.MODEL_CONFIGS:
            raise ValueError(f"Invalid encoder: {encoder}")

        # Build the model, load the matching checkpoint, move to device in eval.
        self.model = VideoDepthAnything(**self.MODEL_CONFIGS[encoder])
        state = torch.load(
            f"checkpoints/video_depth_anything_{encoder}.pth",
            map_location="cpu",
        )
        self.model.load_state_dict(state, strict=True)
        self.model = self.model.to(self.device).eval()

    def infer_and_save(self, input_video, out_path="depth_video.mp4",
                       input_size=518, max_res=1280, max_len=-1):
        """Read a video, estimate consistent depth, and save a colored depth video."""
        # read_video_frames returns a list/array of RGB frames and the fps to use.
        frames, target_fps = read_video_frames(
            input_video, max_len, target_fps=-1, max_res=max_res
        )

        # infer_video_depth returns one depth map per frame, consistent over time.
        depths, fps = self.model.infer_video_depth(
            frames, target_fps, input_size=input_size, device=self.device
        )

        # save_video colorizes the depth maps and writes the output clip.
        save_video(depths, out_path, fps=fps, is_depths=True)
        return depths, fps


if __name__ == "__main__":
    predictor = VideoDepthPredictor(encoder="vits")   # "vitl" for best quality
    depths, fps = predictor.infer_and_save("your_clip.mp4", "depth_video.mp4")
    print(f"Processed {len(depths)} frames at {fps:.1f} fps")
How the code works
The whole thing is one class, loaded once and reused.
Pick the device and load the model
Like any depth model this is heavy, so you load it a single time in __init__. The device walks down a short priority list, an NVIDIA GPU first, then Apple Silicon, then CPU, so you never have to pass one by hand.
The MODEL_CONFIGS dictionary holds the architecture settings for each encoder, and this is the part people trip on: the config you pass to VideoDepthAnything(...) has to match the checkpoint you downloaded. Ask for vits and the class both builds the small architecture and loads video_depth_anything_vits.pth, so they always line up.
Read the video into frames
read_video_frames is a helper from the repo that decodes the clip into RGB frames and figures out the frame rate to run at. max_len limits how many frames to read, which is the quickest way to test on a slice of a long video, and max_res caps the resolution so a big clip stays within memory.
Estimate consistent depth
infer_video_depth is where the temporal magic happens. It does not just loop the image model over each frame; it processes the sequence so the depth stays consistent across frames, handling long clips in overlapping chunks so nothing drifts. You get back one depth map per frame, on a single shared scale for the whole video.
Save the result
save_video colorizes the depth maps and writes them out as a video at the source frame rate. Pass is_depths=True so it applies a depth color map rather than treating the arrays as ordinary images. If you would rather keep the raw numbers, hold on to the depths array the method returns and skip the save.
Metric depth: real distances in meters
Everything above is relative depth. It is consistent across the whole video, this surface is closer than that one, and it stays that way frame to frame, but the values are not meters.
When you need real distances, use the metric checkpoints. These are the same idea fine-tuned to output meters, and they are the right choice for measurement, 3D reconstruction, or robotics where the number has to mean something. The repo ships them alongside the relative models in the metric depth folder, with their own run.py. Pick metric when you are computing distances, and relative when you are driving a visual effect.
Performance and real-time use
The Small model is the one to reach for when speed matters. It runs at real-time frame rates on a modern GPU, which is what makes Video Depth Anything usable for live or streaming input rather than only offline batches. The Large model is slower but gives the cleanest, most stable depth, so it suits post-production and any pipeline where you process the video once and want the best result.
A few practical notes:
- Downscale first for previews. Use
--max_resor themax_resargument to cap resolution. 4K depth is slow and rarely necessary for a preview. - Test on a slice. Set
max_lento a few hundred frames while you are dialing things in, then remove it for the full run. - Match the model to the job.
vitsfor real time and iteration,vitlfor the final render.
Where this is useful
Consistent video depth unlocks the things per-frame depth could not:
- Video background blur and relighting that stays smooth instead of pulsing between frames.
- 3D and parallax effects driven from depth without jitter.
- AR and scene understanding on moving cameras, where objects need believable, stable distances.
- Robotics and drones that read obstacles from a single camera feed over time.
- Dataset creation: temporally consistent pseudo depth labels for training other video models.
Wrapping up
Running Depth Anything V2 frame by frame is fine until the input is a video, at which point the flicker gives it away. Video Depth Anything keeps the same sharp, single-image depth but makes it stable over time and holds up on long clips, so the depth is something you can actually watch or build on. Start with the Small model and run.py to see it working, then move to the class above and the Large checkpoint when you want the best quality.
New to the model itself? Start with the Depth Anything V2 guide for single-image depth, and grab checkpoints from the Depth Anything V2 weights page.
If you are building depth, 3D, or video features and want a hand, book a free consultation or read more tutorials. 🚀
FAQs
- Q:What is Video Depth Anything?
- A:Video Depth Anything is a monocular depth estimation model for video. It builds on Depth Anything V2 and adds temporal consistency, so the depth stays stable across frames instead of flickering, and it holds up on super-long videos of several minutes without drifting.
- Q:How is it different from running Depth Anything V2 on each frame?
- A:Depth Anything V2 estimates each frame independently, so the depth values jump slightly between frames and the video shimmers. Video Depth Anything reasons across frames with a spatiotemporal head and a temporal consistency loss, so the same surface keeps the same depth over time. The spatial sharpness of Depth Anything V2 is kept.
- Q:How do I run Video Depth Anything from the command line?
- A:Clone the repo, install the requirements, download a checkpoint, then run: python run.py --input_video your_clip.mp4 --output_dir outputs --encoder vitl. It writes a colored depth video to the output directory, and you can add --grayscale or --save_npz for the raw values.
- Q:Which checkpoint should I download?
- A:Use the Small (vits) checkpoint, video_depth_anything_vits.pth, for speed and real-time use, and the Large (vitl) checkpoint, video_depth_anything_vitl.pth, for the sharpest, most stable depth when you have a GPU. There are also metric-depth checkpoints when you need distances in meters.
- Q:Can Video Depth Anything run in real time?
- A:The Small model reaches real-time frame rates on a modern GPU, which is what makes it practical for live or streaming use. The Large model is slower but produces the cleanest depth, so it suits offline processing where quality matters most.
- Q:Does Video Depth Anything give metric depth in meters?
- A:The default models output relative depth that is consistent across the whole video but not in meters. For real-world distances there are separate metric-depth checkpoints, which are the right choice for measurement, 3D reconstruction, or robotics.
Related posts
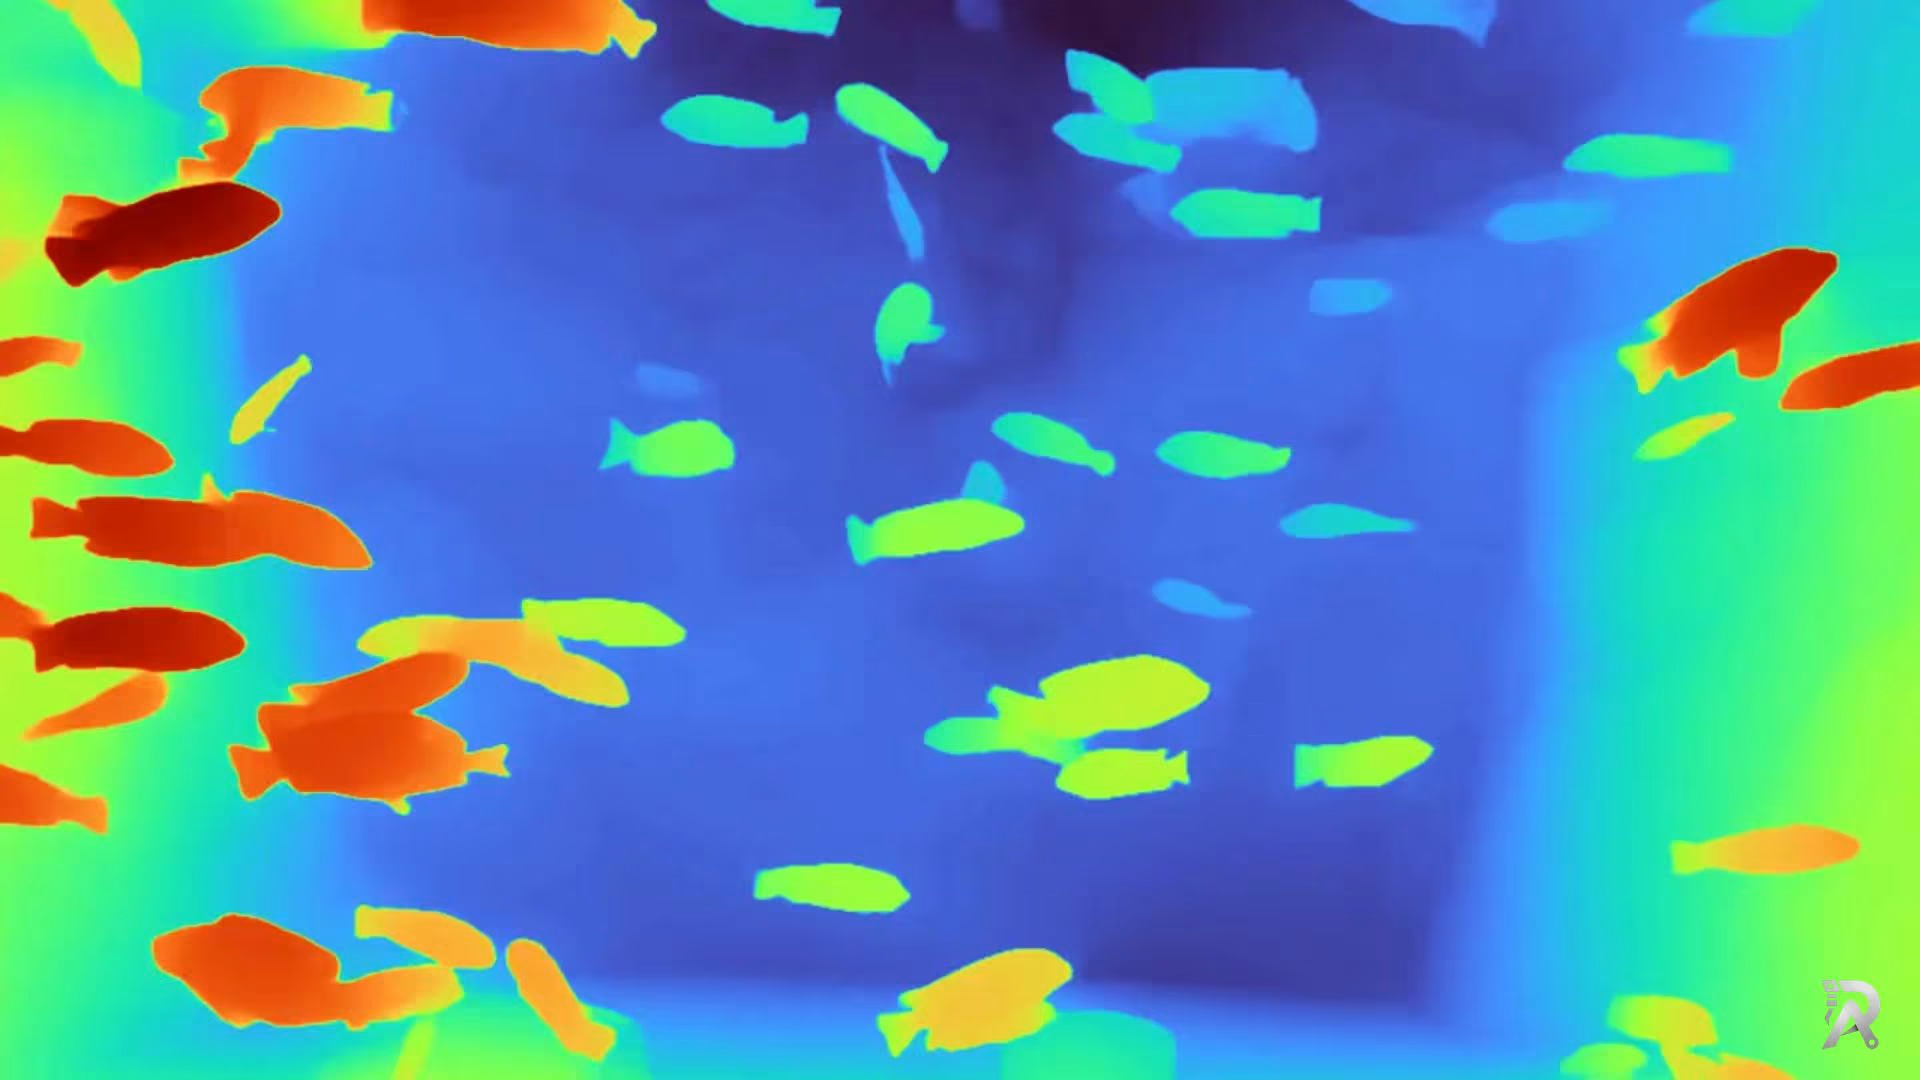
Depth Anything V2 in Python: image, video and webcam depth
Learn how to estimate depth from a single image, a video, or your webcam using Depth Anything V2 and a clean, reusable Python class, plus the run.py command, metric depth, and a note on TensorRT.
Read article →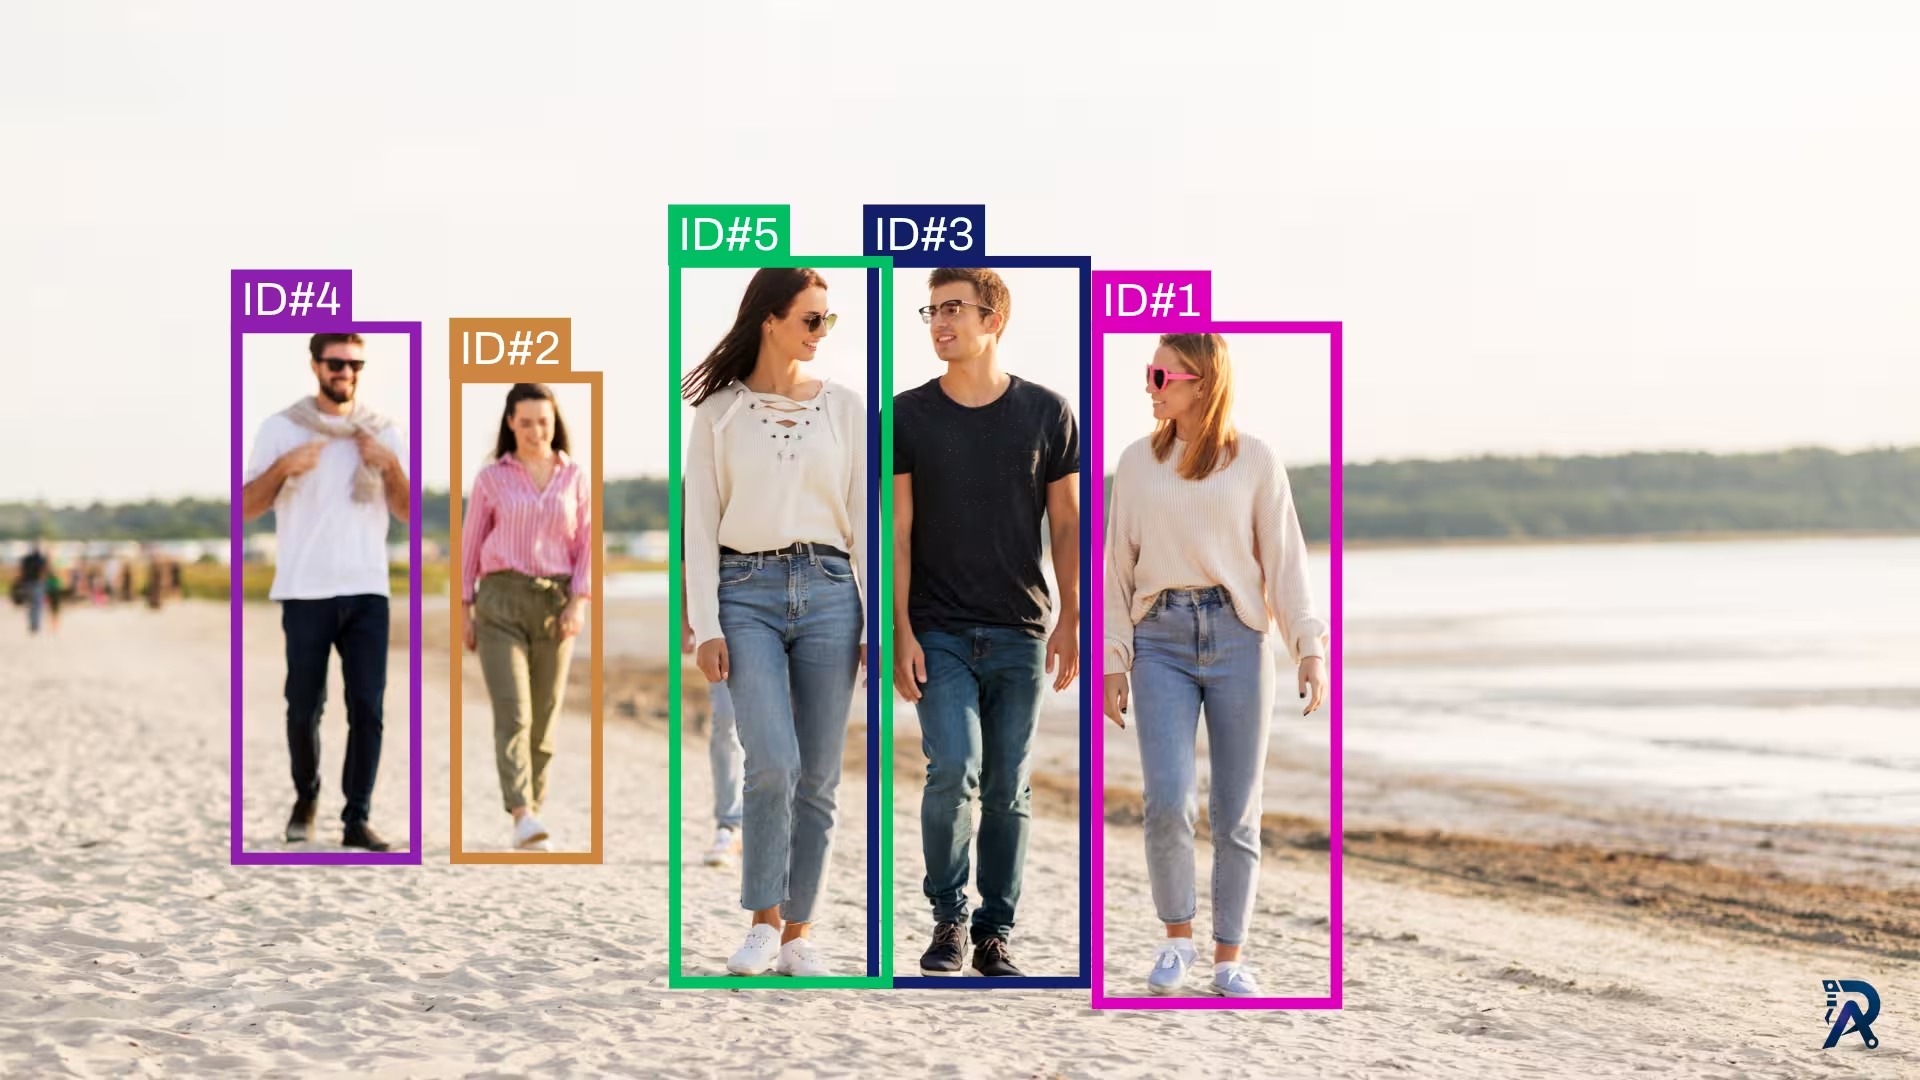
How to use ByteTrack with YOLO for object tracking in Python
Give YOLO a memory. This tutorial uses ByteTrack to assign persistent IDs to objects across video frames, with a runnable Ultralytics script and a bytetrack.yaml tuning guide.
Read article →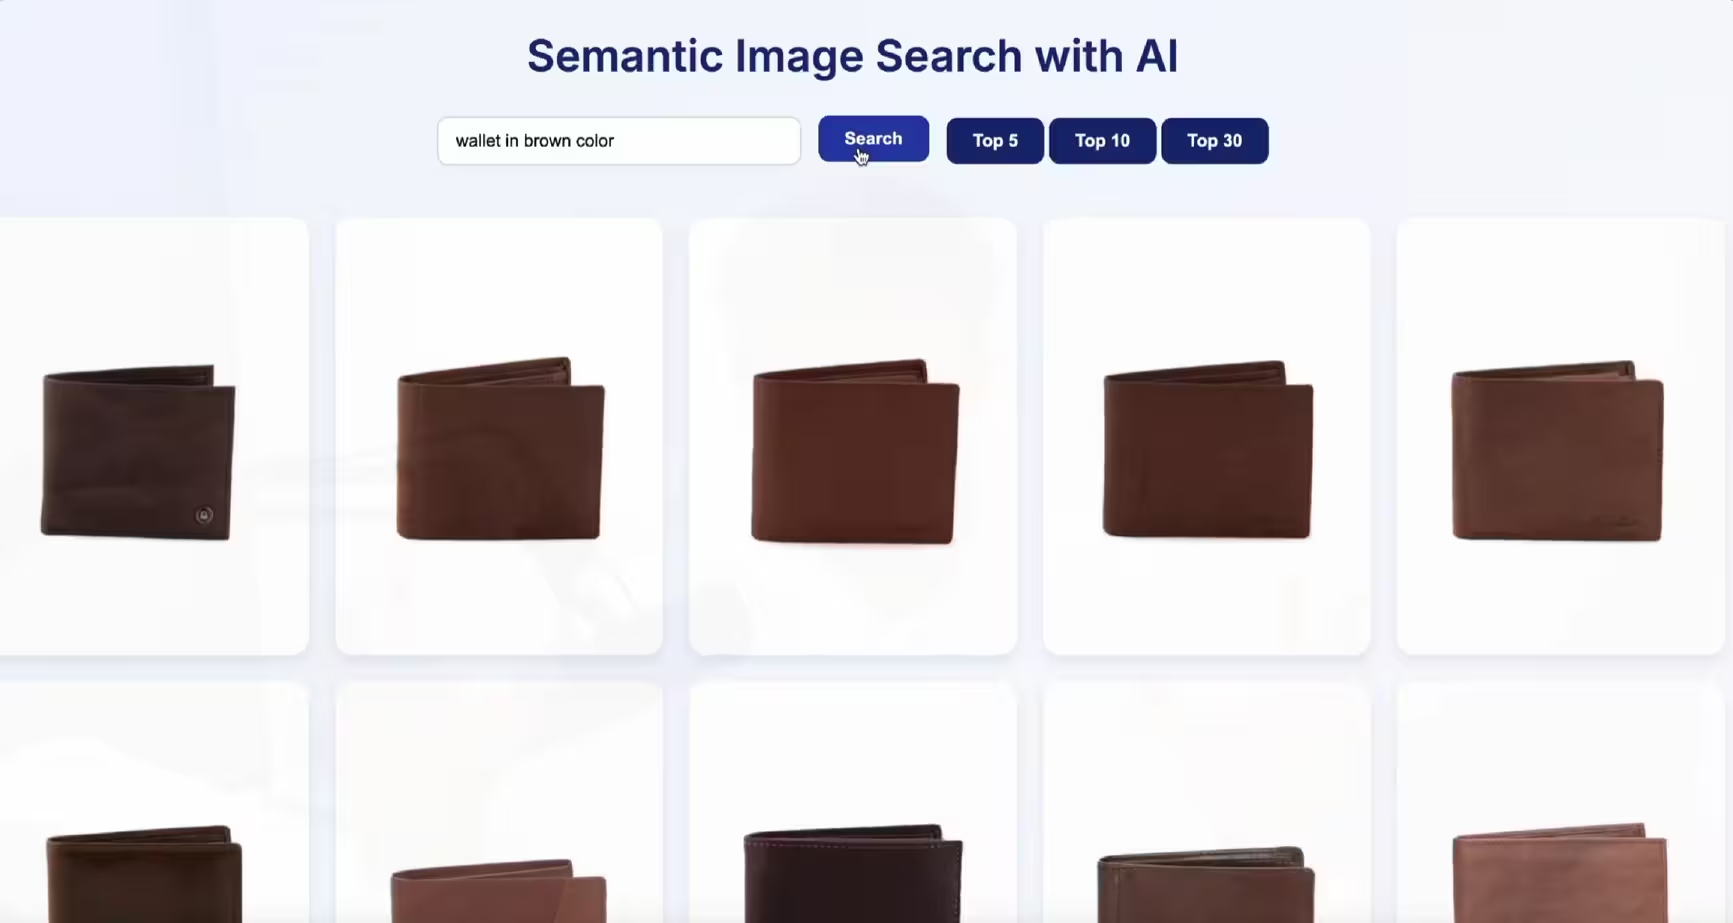
Build a semantic image search engine with CLIP and Python
Learn how to build a semantic image search engine that finds pictures by meaning. A few lines of Python turn a folder of images into a searchable index you can query in plain English.
Read article →
Computer Vision Engineer and top contributor to the YOLO project, building production AI and deep learning systems.
My course on LinkedIn LearningHands-On AI: Computer Vision Projects with Ultralytics and OpenCV