YOLO26 vs YOLO11: Real-time ONNX FPS benchmark in Python
Build one small, reusable class that runs Ultralytics YOLO26 and Ultralytics YOLO11 as ONNX models, draws clean detections, and overlays live FPS and latency so you can compare their real-time speed on the exact same footage.
When people ask "which YOLO is faster," the real answer is almost always "it depends, measure it." Model size, input resolution, the runtime you deploy on, and your exact CPU all move the number. So instead of trusting a generic benchmark, let's build a tiny harness that gives you the answer for your hardware.

In this guide we'll run both YOLO26 and YOLO11 as ONNX models on the same video, draw clean detections, and overlay live FPS and per-frame latency so the comparison is right there on screen. The whole thing is one reusable class you point at a different model file to switch contenders.
Why compare on ONNX, and on CPU
Two deliberate choices make this a fair fight:
- ONNX over raw PyTorch. ONNX Runtime is frequently faster than PyTorch for inference, especially on CPU, and it drops the heavy PyTorch dependency at deploy time. Exporting both models to ONNX means any speed difference you see comes from the network, not from two different runtimes.
- CPU by default. GPUs make almost everything fast enough that differences blur. The place a few milliseconds per frame actually decides your architecture is CPU and edge deployment, so that's where the comparison is most useful. (Switching to GPU is a one-line change, covered below.)
What we actually measure
The script times only the inference call: the stopwatch wraps model.predict(), nothing else:
start_time = time.time()
results = self.model.predict(frame,
                            device=self.device,
                            conf=0.25)[0]
process_time = time.time() - start_time
That's intentional. Video decoding, box drawing, and writing the output file are the same for both models, so including them would just add noise. Isolating the model gives you the cleanest YOLO26-vs-YOLO11 signal. Just remember: your end-to-end pipeline FPS, with all the I/O, will be lower than the number on screen.
Step 1: Export both models to ONNX
First install the dependencies:
pip install ultralytics onnxruntime opencv-python
Then export each model. The export command takes the PyTorch weights (.pt) and writes an .onnx file next to it:
yolo export format=onnx model=yolo11n.pt   # -> yolo11n.onnx
yolo export format=onnx model=yolo26n.pt   # -> yolo26n.onnx
Both are the nano variants here, so it's a like-for-like comparison. Swap in s, m, or l if you want to compare a different size class, just keep both models on the same tier.
Step 2: Set up the visualizer class
The class takes a video source, a model path, and a device. Loading a .onnx file with task="detect" tells Ultralytics to run it through ONNX Runtime. We also read the source resolution and FPS so the output video matches the input.
import cv2
import time
from ultralytics import YOLO
from ultralytics.utils.plotting import colors


class YOLOVisualizer:
    def __init__(self, source=0, model="yolo26n.onnx",
                device="cpu"):
        self.source = source
        self.model_path = model
        self.device = device

        # Load model (ONNX Runtime because the file is .onnx)
        self.model = YOLO(model, task="detect")
        self.names = self.model.names

        self.cap = cv2.VideoCapture(source)
        w, h, fps = (
            int(self.cap.get(x))
            for x in (cv2.CAP_PROP_FRAME_WIDTH,
                    cv2.CAP_PROP_FRAME_HEIGHT,
                    cv2.CAP_PROP_FPS)
        )

        self.video_writer = cv2.VideoWriter(
            "yolo-output.avi",
             cv2.VideoWriter_fourcc(*"mp4v"),
             fps,
             (w, h)
        )

        self.avg_fps = []
source=0 opens the default webcam; pass a file path for a video. To benchmark YOLO11 instead, you only change the model argument, everything else stays put.
Step 3: Draw clean detections
Two small helpers keep the overlay readable. draw_text_with_bg paints text on a solid rectangle (so it stays legible over any background), and draw_bbox draws a colored box with a centered label. Cars get a distinct color via colors(11 if cls_id == 2 else cls_id, True) so they stand out in traffic scenes.
    @staticmethod
    def draw_bbox(img, box, label="", conf=None, cls_id=0):
        x1, y1, x2, y2 = map(int, box)
        color = colors(11 if cls_id == 2 else cls_id, True)
        cv2.rectangle(img, (x1, y1), (x2, y2), color, 3)

        if label:
            text_scale, thickness_text = 1.4, 2
            (tw, th), baseline = cv2.getTextSize(
                label, cv2.FONT_HERSHEY_SIMPLEX,
                text_scale, thickness_text
            )
            pad = 8
            lx1, ly1 = x1, y1 - (th + baseline + 2 * pad)
            lx2, ly2 = x1 + tw + 2 * pad, y1
            if ly1 < 0:  # keep the label inside the frame
                ly1, ly2 = y1, y1 + th + baseline + 2 * pad
            cv2.rectangle(img, (lx1, ly1), (lx2, ly2),
                        color, -1)
            text_x = lx1 + (lx2 - lx1 - tw) // 2
            text_y = ly1 + (ly2 - ly1 + th) // 2
            cv2.putText(img, label, (text_x, text_y),
                        cv2.FONT_HERSHEY_SIMPLEX,
                        text_scale, (255, 255, 255),
                        thickness_text, cv2.LINE_AA)
Step 4: Time each frame and average the FPS
Inside the loop we time the inference, convert it to an instantaneous FPS (1 / process_time), and keep a running mean. The running average smooths out frame-to-frame spikes and naturally dampens the slower first frame, where ONNX Runtime warms up its session.
    def run(self):
        while self.cap.isOpened():
            ret, frame = self.cap.read()
            if not ret:
                break

            start_time = time.time()
            results = self.model.predict(frame,
                                        device=self.device,
                                        conf=0.25)[0]
            process_time = time.time() - start_time

            boxes = results.boxes.xyxy.tolist()
            clss = results.boxes.cls.tolist()
            confs = results.boxes.conf.cpu().numpy()

            for box, cls, conf in zip(boxes, clss, confs):
                cls = int(cls)
                self.draw_bbox(frame,
                                box,
                                label=self.names[cls],
                                conf=conf,
                                cls_id=cls)
            self.avg_fps.append(1.0 / process_time \
                    if process_time > 0 else 0)
            fps = sum(self.avg_fps) / len(self.avg_fps)
Tip: For a cleaner headline number, drop the first ~10 frames from
avg_fpsbefore averaging. That removes the one-time warm-up cost so you're timing steady-state inference only.
Step 5: Overlay FPS and latency, then write the frame
Finally we stamp the running FPS and the per-frame latency in milliseconds onto the frame, show it, and write it to disk. Two numbers, side by side, tell the whole story: FPS for throughput, milliseconds for the latency each detection costs you.
            self.draw_text_with_bg(frame, f"FPS: {int(fps)}",
                                (25, 45),
                                bg_color=(104, 31, 17),
                                fg_color=(255, 255, 255),
                                font_scale=2.2)
            self.draw_text_with_bg(frame,
                                f"Time: {process_time \
                                    * 1000:.0f}ms",
                                (360, 45),
                                bg_color=(104, 0, 123),
                                fg_color=(255, 255, 255),
                                font_scale=2.2)

            cv2.imshow("Ultralytics YOLO", frame)
            self.video_writer.write(frame)
            if cv2.waitKey(1) & 0xFF == ord("q"):
                break

        self.cap.release()
        self.video_writer.release()
        cv2.destroyAllWindows()
Complete code in one block
import cv2
import time
from ultralytics import YOLO
from ultralytics.utils.plotting import colors


class YOLOVisualizer:
    """
    Run YOLO on video/webcam and visualize
    results with a live FPS + latency overlay.
    """

    def __init__(self, source=0,
                model="yolo26n.onnx",
                device="cpu"):
        self.source = source
        self.model_path = model
        self.device = device

        # Load model
        self.model = YOLO(model, task="detect")
        self.names = self.model.names

        # Video capture
        self.cap = cv2.VideoCapture(source)
        w, h, fps = (
            int(self.cap.get(x))
            for x in (cv2.CAP_PROP_FRAME_WIDTH,
            cv2.CAP_PROP_FRAME_HEIGHT,
            cv2.CAP_PROP_FPS)
        )

        # Video writer
        self.video_writer = cv2.VideoWriter(
            "yolo-output.avi",
            cv2.VideoWriter_fourcc(*"mp4v"),
            fps,
            (w, h)
        )

        self.avg_fps = []

    @staticmethod
    def draw_text_with_bg(img, text, pos,
                        font_scale=0.6,
                        bg_color=(0, 0, 0),
                        fg_color=(104, 31, 17),
                        padding=15,
                        thickness=4):
        """Draw text with a solid background rectangle."""
        font = cv2.FONT_HERSHEY_SIMPLEX
        (text_width, text_height), baseline = cv2.getTextSize(
            text, font, font_scale, thickness)

        rect_width = text_width + 2 * padding
        rect_height = text_height + baseline + 2 * padding
        rect_x1, rect_y1 = pos
        rect_x2 = rect_x1 + rect_width,
        rect_y2 = rect_y1 + rect_height
        cv2.rectangle(img, (rect_x1, rect_y1),
                     (rect_x2, rect_y2), bg_color, -1)

        text_x = rect_x1 + (rect_width - text_width) // 2
        text_y = rect_y1 + (rect_height + text_height) // 2
        cv2.putText(img, text, (text_x, text_y), font,
                    font_scale, fg_color, thickness,
                    cv2.LINE_AA)

    @staticmethod
    def draw_bbox(img, box, label="", conf=None, cls_id=0):
        """Draw a styled bounding box with label."""
        x1, y1, x2, y2 = map(int, box)
        color = colors(11 if cls_id == 2 else cls_id, True)
        cv2.rectangle(img, (x1, y1), (x2, y2), color, 3)

        if label:
            text_scale, thickness_text = 1.4, 2
            (tw, th), baseline = cv2.getTextSize(label,
                                        0,
                                        text_scale,
                                        thickness_text)
            pad = 8
            lx1, ly1 = x1, y1 - (th + baseline + 2 * pad)
            lx2, ly2 = x1 + tw + 2 * pad, y1
            if ly1 < 0:  # keep label inside frame
                ly1, ly2 = y1, y1 + th + baseline + 2 * pad
            cv2.rectangle(img, (lx1, ly1), (lx2, ly2), color, -1)
            text_x = lx1 + (lx2 - lx1 - tw) // 2
            text_y = ly1 + (ly2 - ly1 + th) // 2
            cv2.putText(img, label, (text_x, text_y),
                        cv2.FONT_HERSHEY_SIMPLEX,
                        text_scale, (255, 255, 255),
                        thickness_text, cv2.LINE_AA)

    def run(self):
        """Run YOLO inference and visualization loop."""
        while self.cap.isOpened():
            ret, frame = self.cap.read()
            if not ret:
                break

            start_time = time.time()
            results = self.model.predict(frame,
                                        device=self.device,
                                        conf=0.25)[0]
            process_time = time.time() - start_time

            boxes = results.boxes.xyxy.tolist()
            clss = results.boxes.cls.tolist()
            confs = results.boxes.conf.cpu().numpy()

            for box, cls, conf in zip(boxes, clss, confs):
                cls = int(cls)
                self.draw_bbox(frame, box,
                            label=self.names[cls],
                            conf=conf,
                            cls_id=cls)

            # FPS calculation (inference only)
            self.avg_fps.append(1.0 / process_time \
                 if process_time > 0 else 0)
            fps = sum(self.avg_fps) / len(self.avg_fps)

            # Overlays
            self.draw_text_with_bg(frame,
                                f"FPS: {int(fps)}",
                                (25, 45),
                                bg_color=(104, 31, 17),
                                fg_color=(255, 255, 255),
                                font_scale=2.2)
            self.draw_text_with_bg(frame,
                                f"Time: {process_time \
                                    * 1000:.0f}ms",
                                (360, 45),
                                bg_color=(104, 0, 123),
                                fg_color=(255, 255, 255),
                                font_scale=2.2)

            cv2.imshow("Ultralytics YOLO", frame)
            self.video_writer.write(frame)
            if cv2.waitKey(1) & 0xFF == ord("q"):
                break

        self.cap.release()
        self.video_writer.release()
        cv2.destroyAllWindows()


if __name__ == "__main__":
    # YOLO11 test, export first:
    # yolo export format=onnx model=yolo11n.pt
    # visualizer = YOLOVisualizer(source="horse-rider.mp4",
    # model="yolo11n.onnx")
    # visualizer.run()

    # YOLO26 test, export first:
    # yolo export format=onnx model=yolo26n.pt
    visualizer = YOLOVisualizer(source="horse-rider.mp4",
                                model="yolo26n.onnx")
    visualizer.run()
It's time to watch YOLO26 and YOLO11 go head to head 🚀
How to run a fair comparison
Change one thing at a time. To benchmark the two models honestly:
- Run the script once with
model="yolo26n.onnx", note the settled FPS and latency. - Run it again with
model="yolo11n.onnx"on the same video, same machine, nothing else open. - Keep
imgsz,conf, anddeviceidentical across both runs, only the model file should differ. - Ignore the first few frames each time (session warm-up), and let the video run long enough for the running average to stabilize.
Close other heavy apps while benchmarking, since a background process stealing CPU cycles will quietly skew whichever model you happen to run second.
How to read the results
You'll be looking at two levers:
- FPS (throughput): how many frames per second the model can chew through. Higher is better for live camera feeds and video analytics.
- Latency in ms (responsiveness): how long a single detection takes. Lower is better when a decision has to happen now, like a safety trigger.
If one model gives you a few more FPS at the same accuracy on your footage, that's your pick for real-time work. If they're close, let accuracy on your classes break the tie. Raw speed only matters if the detections are good enough to act on.
Where to take it next
- Try GPU: install
onnxruntime-gpuand passdevice=0to see the ceiling on your hardware. - Sweep input sizes: re-export at
imgsz=320andimgsz=640to trade accuracy for speed and watch the FPS move. - Log instead of overlay: write each frame's latency to a CSV and plot the distribution: averages hide the tail latencies that actually cause dropped frames.
- Compare sizes: pit
yolo26sagainstyolo11sto see whether the gap holds as the models grow.
Explore more
Export both models, run them on your own footage, and let the numbers on screen settle the debate. 🚀
FAQs
- Q:Is YOLO26 faster than YOLO11 in ONNX?
- A:It depends on your hardware, the model size, and the input resolution, so the honest answer is: measure it on your own machine. This guide gives you a fair harness that runs both models as ONNX on the same video and reports live FPS and latency, so you get real numbers for your setup instead of a generic claim.
- Q:Why export YOLO to ONNX instead of running the PyTorch weights?
- A:ONNX Runtime is often noticeably faster than PyTorch for inference on CPU, and it removes the PyTorch dependency at deployment time. Exporting both models to ONNX also levels the playing field, so a speed comparison reflects the model, not two different runtimes.
- Q:What does the FPS number in this script actually measure?
- A:Only the model's inference time: the timer wraps the predict() call, not video decoding, drawing, or writing. That isolates model speed, which is exactly what you want when comparing YOLO26 and YOLO11. Your end-to-end pipeline FPS (including I/O) will be lower.
- Q:Can I run this on a GPU instead of CPU?
- A:Yes. Install onnxruntime-gpu and pass device=0 (or your CUDA device index) instead of 'cpu'. The rest of the code is identical. CPU is the more interesting comparison for edge and cost-sensitive deployments, which is why it's the default here.
- Q:How do I make the comparison fair?
- A:Use the same video, the same device, the same input size (imgsz), and the same confidence threshold for both models, and discard the first few frames so one-time ONNX session warm-up doesn't skew the average. Only the model file should change between runs.
Related posts
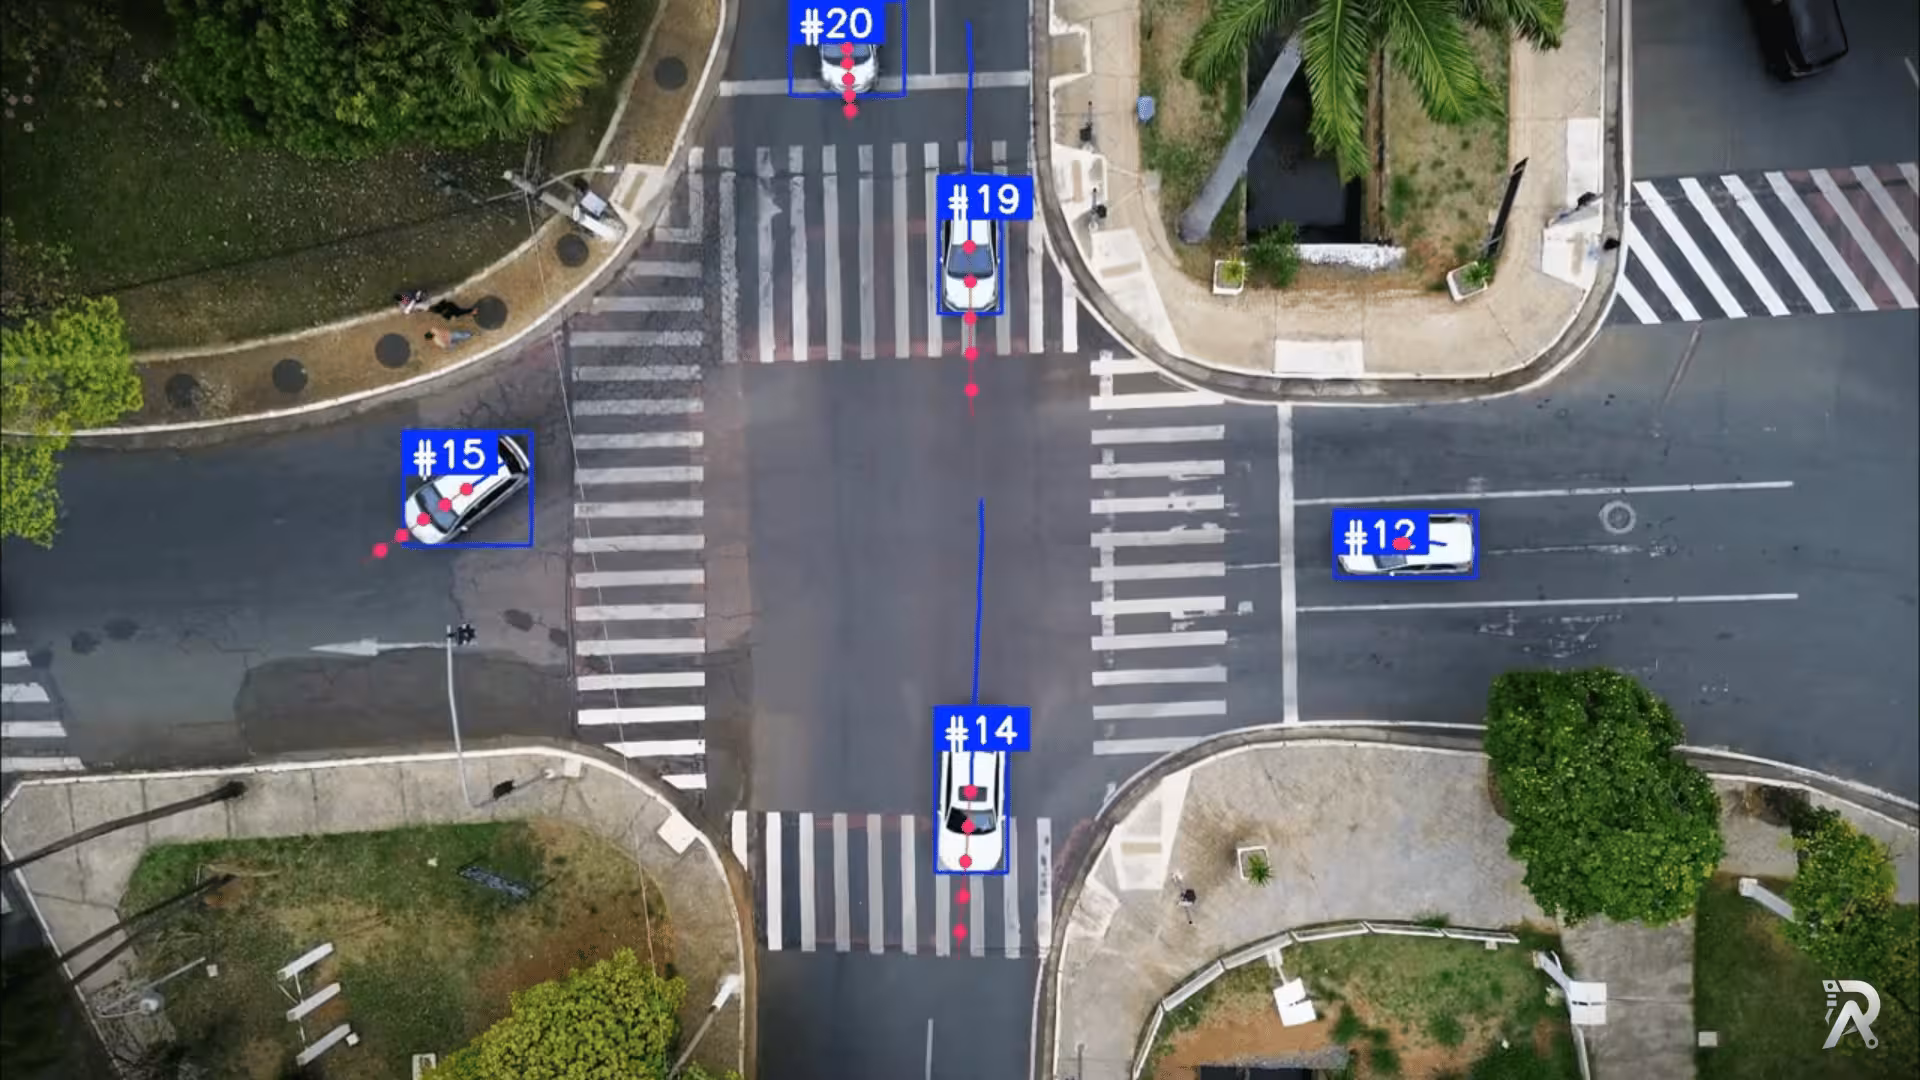
Object tracking and trajectory forecasting with YOLO26 and ByteTrack
Detect, track, and predict the future path of people and vehicles using Ultralytics YOLO26, ByteTrack, and a lightweight velocity-based forecasting model.
Read article →
Real time bird detection and tracking using YOLO11
Learn how to detect and track birds using Ultralytics YOLO11 for real-time monitoring and ecological research through computer vision.
Read article →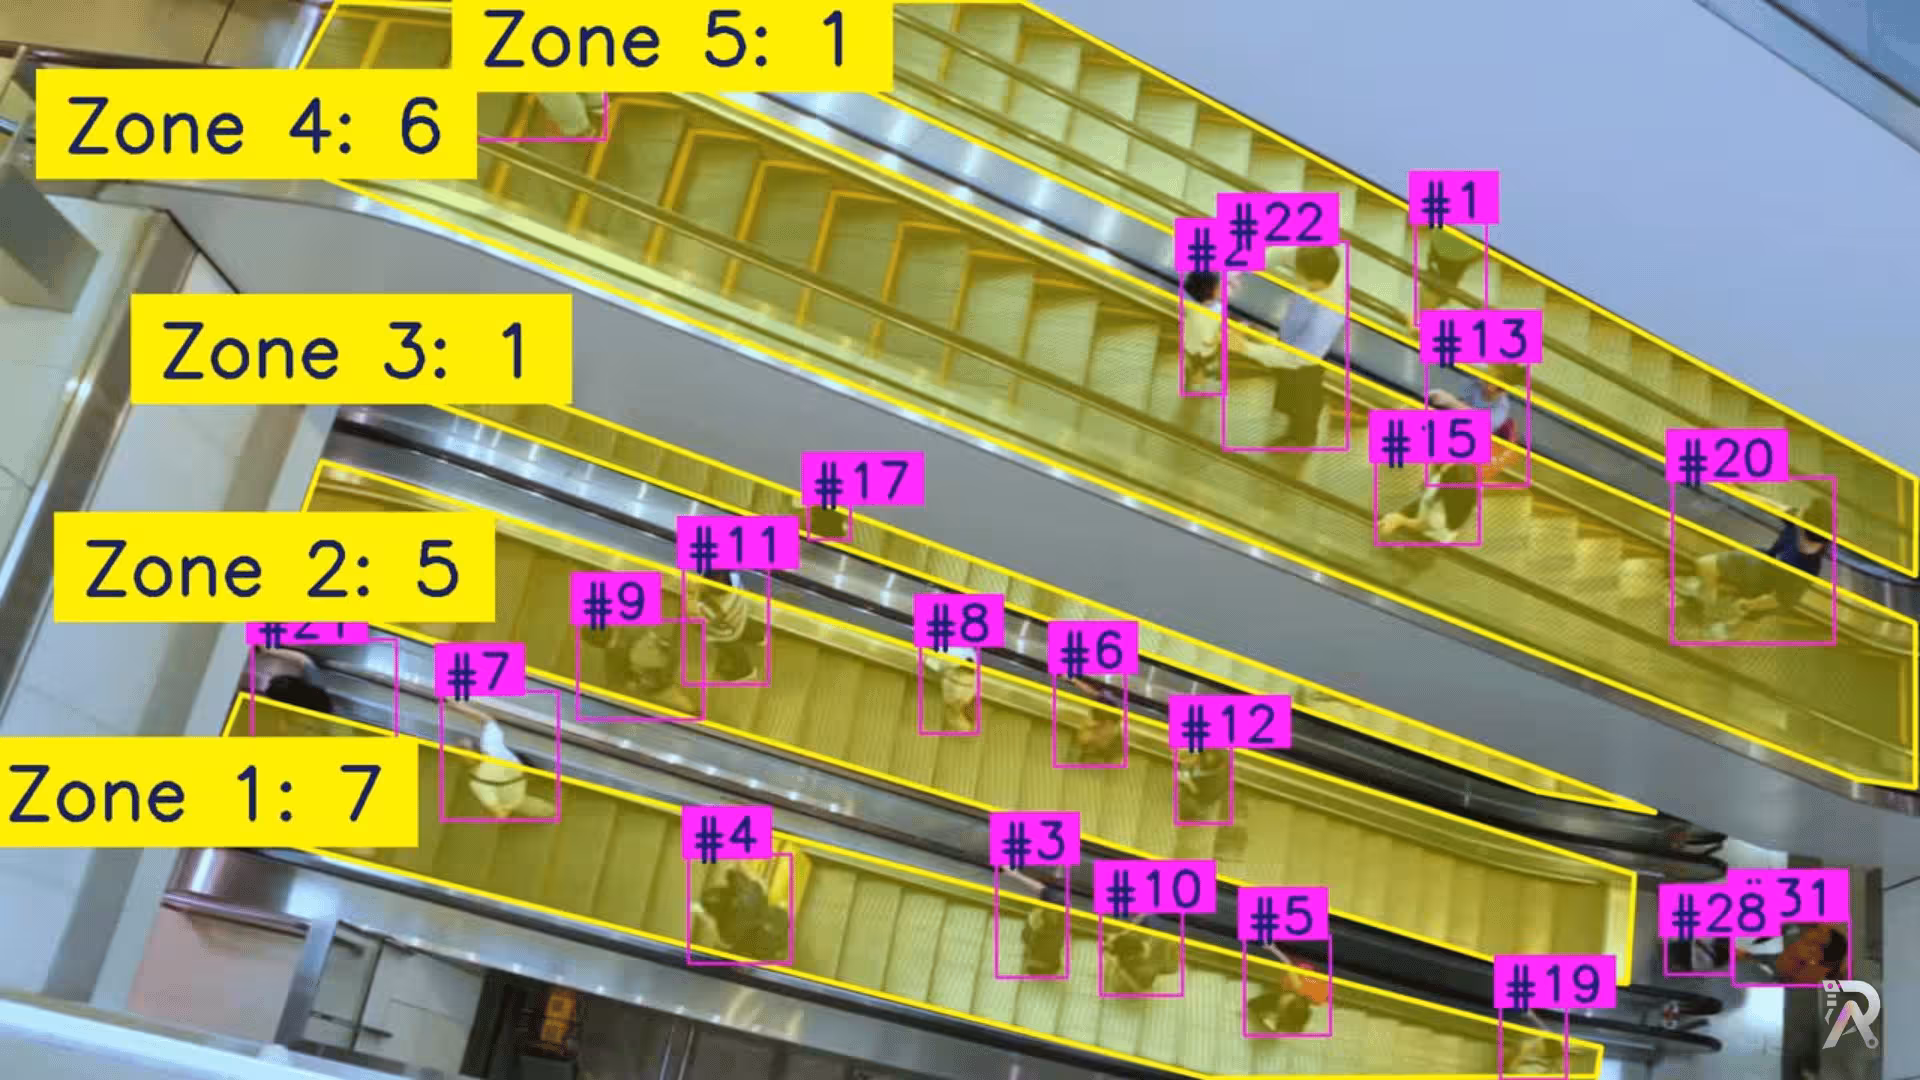
How to count people in zones with YOLO26 and OpenCV
A practical walkthrough of a compact Python script that detects, tracks, and counts people inside polygon zones using Ultralytics YOLO26 and OpenCV.
Read article →
Computer Vision Engineer and top contributor to the YOLO project, building production AI and deep learning systems.
My course on LinkedIn LearningHands-On AI: Computer Vision Projects with Ultralytics and OpenCV